Temu 10W USB Solar Panel
Introduction
Today we will be looking at and reviewing an affordable little USB panel that claims to produce 10W that I bought from Temu, it is however available from a number of other outlets including AliExpress and Amazon.
Though the pricing varies across sites and current promotions, at the time of ordering I paid £6.74 for my example.
Full disclosure: Some of the links above are affiliate links and will give me a small commission for each purchase.
First impressions
Size and Weight
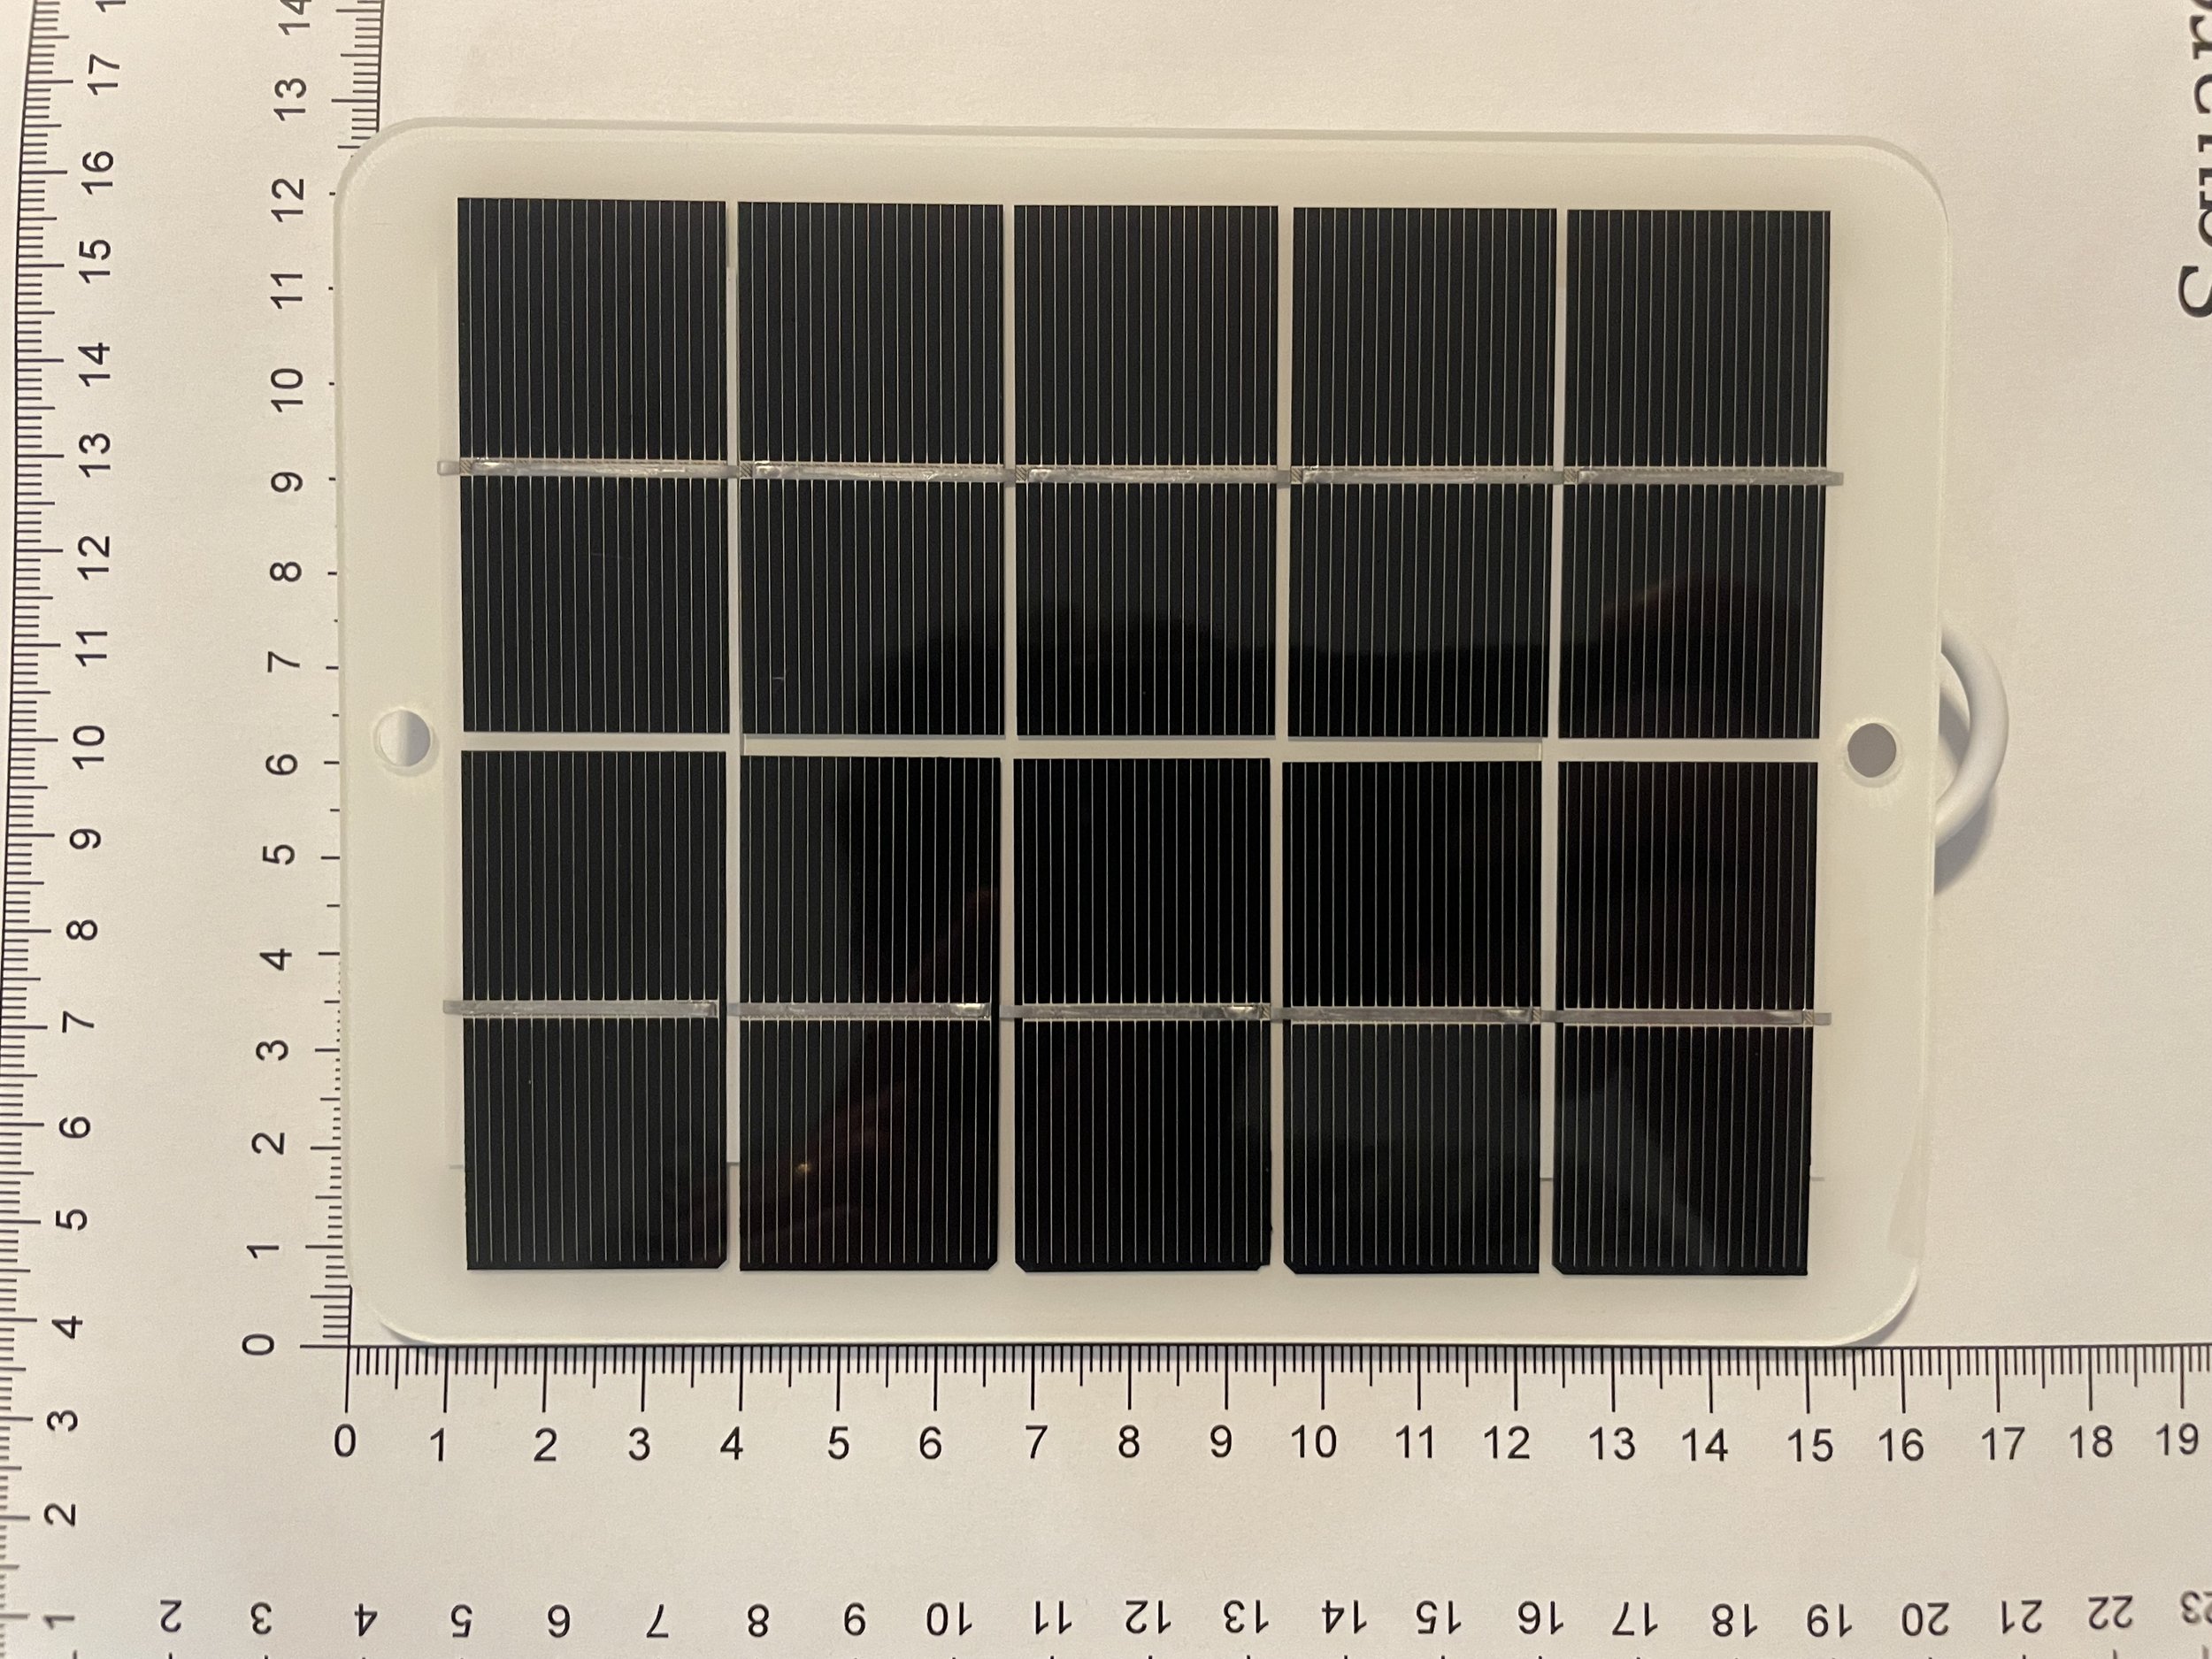
The panel is very small for the 10W claimed output (something we'll come to later in the testing). The size is a double-edged sword, it won’t take up much space wherever you put it but given the modest dimensions, we can’t really expect much output from it either. It will easily fit in a larger clothes pocket and all but the smallest of bag pockets, it’s also very thin so you can slide it into a pocket when most other things wouldn’t fit.
Size: 16 x 12.1 x 1cm
Weight: 63.6g.
The effective PV panel area is 0.0142m^2, so assuming the average solar irradiance is 1000W/m^2 and a panel efficiency of 20% that would make this ~2.8W panel which appears to about right.
Build
Given the simplicity of this panel there’s not much to talk about here but here we go. The silicon appears to be covered by either an acrylic or polycarbonate sheet, the backing material is a much thinner white plastic. Out of the box, it has a protective film over the front face that was removed before testing.
The construction does give the panel a very sturdy feel, very much like a non-shatter ruler from back in our school days and I feel you could throw it in a pack and it'll survive without you having to worry about it too much.
Another feature of the panel that you tend to expect with all small solar panels is a method for securing the panel to something else, and this panel delivers with two holes in the centre of the short sides, these holes are a little on the small side though and you won’t be able to fit much through them other than some cord or a single hook.
The rear of the panel just has a black rectangle that the USB output emerges from and likely conceals the soldered connection to the panel terminals as well as any associated regulation circuitry if any is included.
Outputs
The panel has a single female USB A output at the end of a hard-wired 45cm cable, this should be more than sufficient for the claimed 10W output. Considering the panel output I wouldn’t expect any more output options to be fair as splitting the limited current from a small panel over multiple outputs, especially in anything less than perfect sun wouldn’t be usable.
Testing and Performance
Test Setup and Conditions
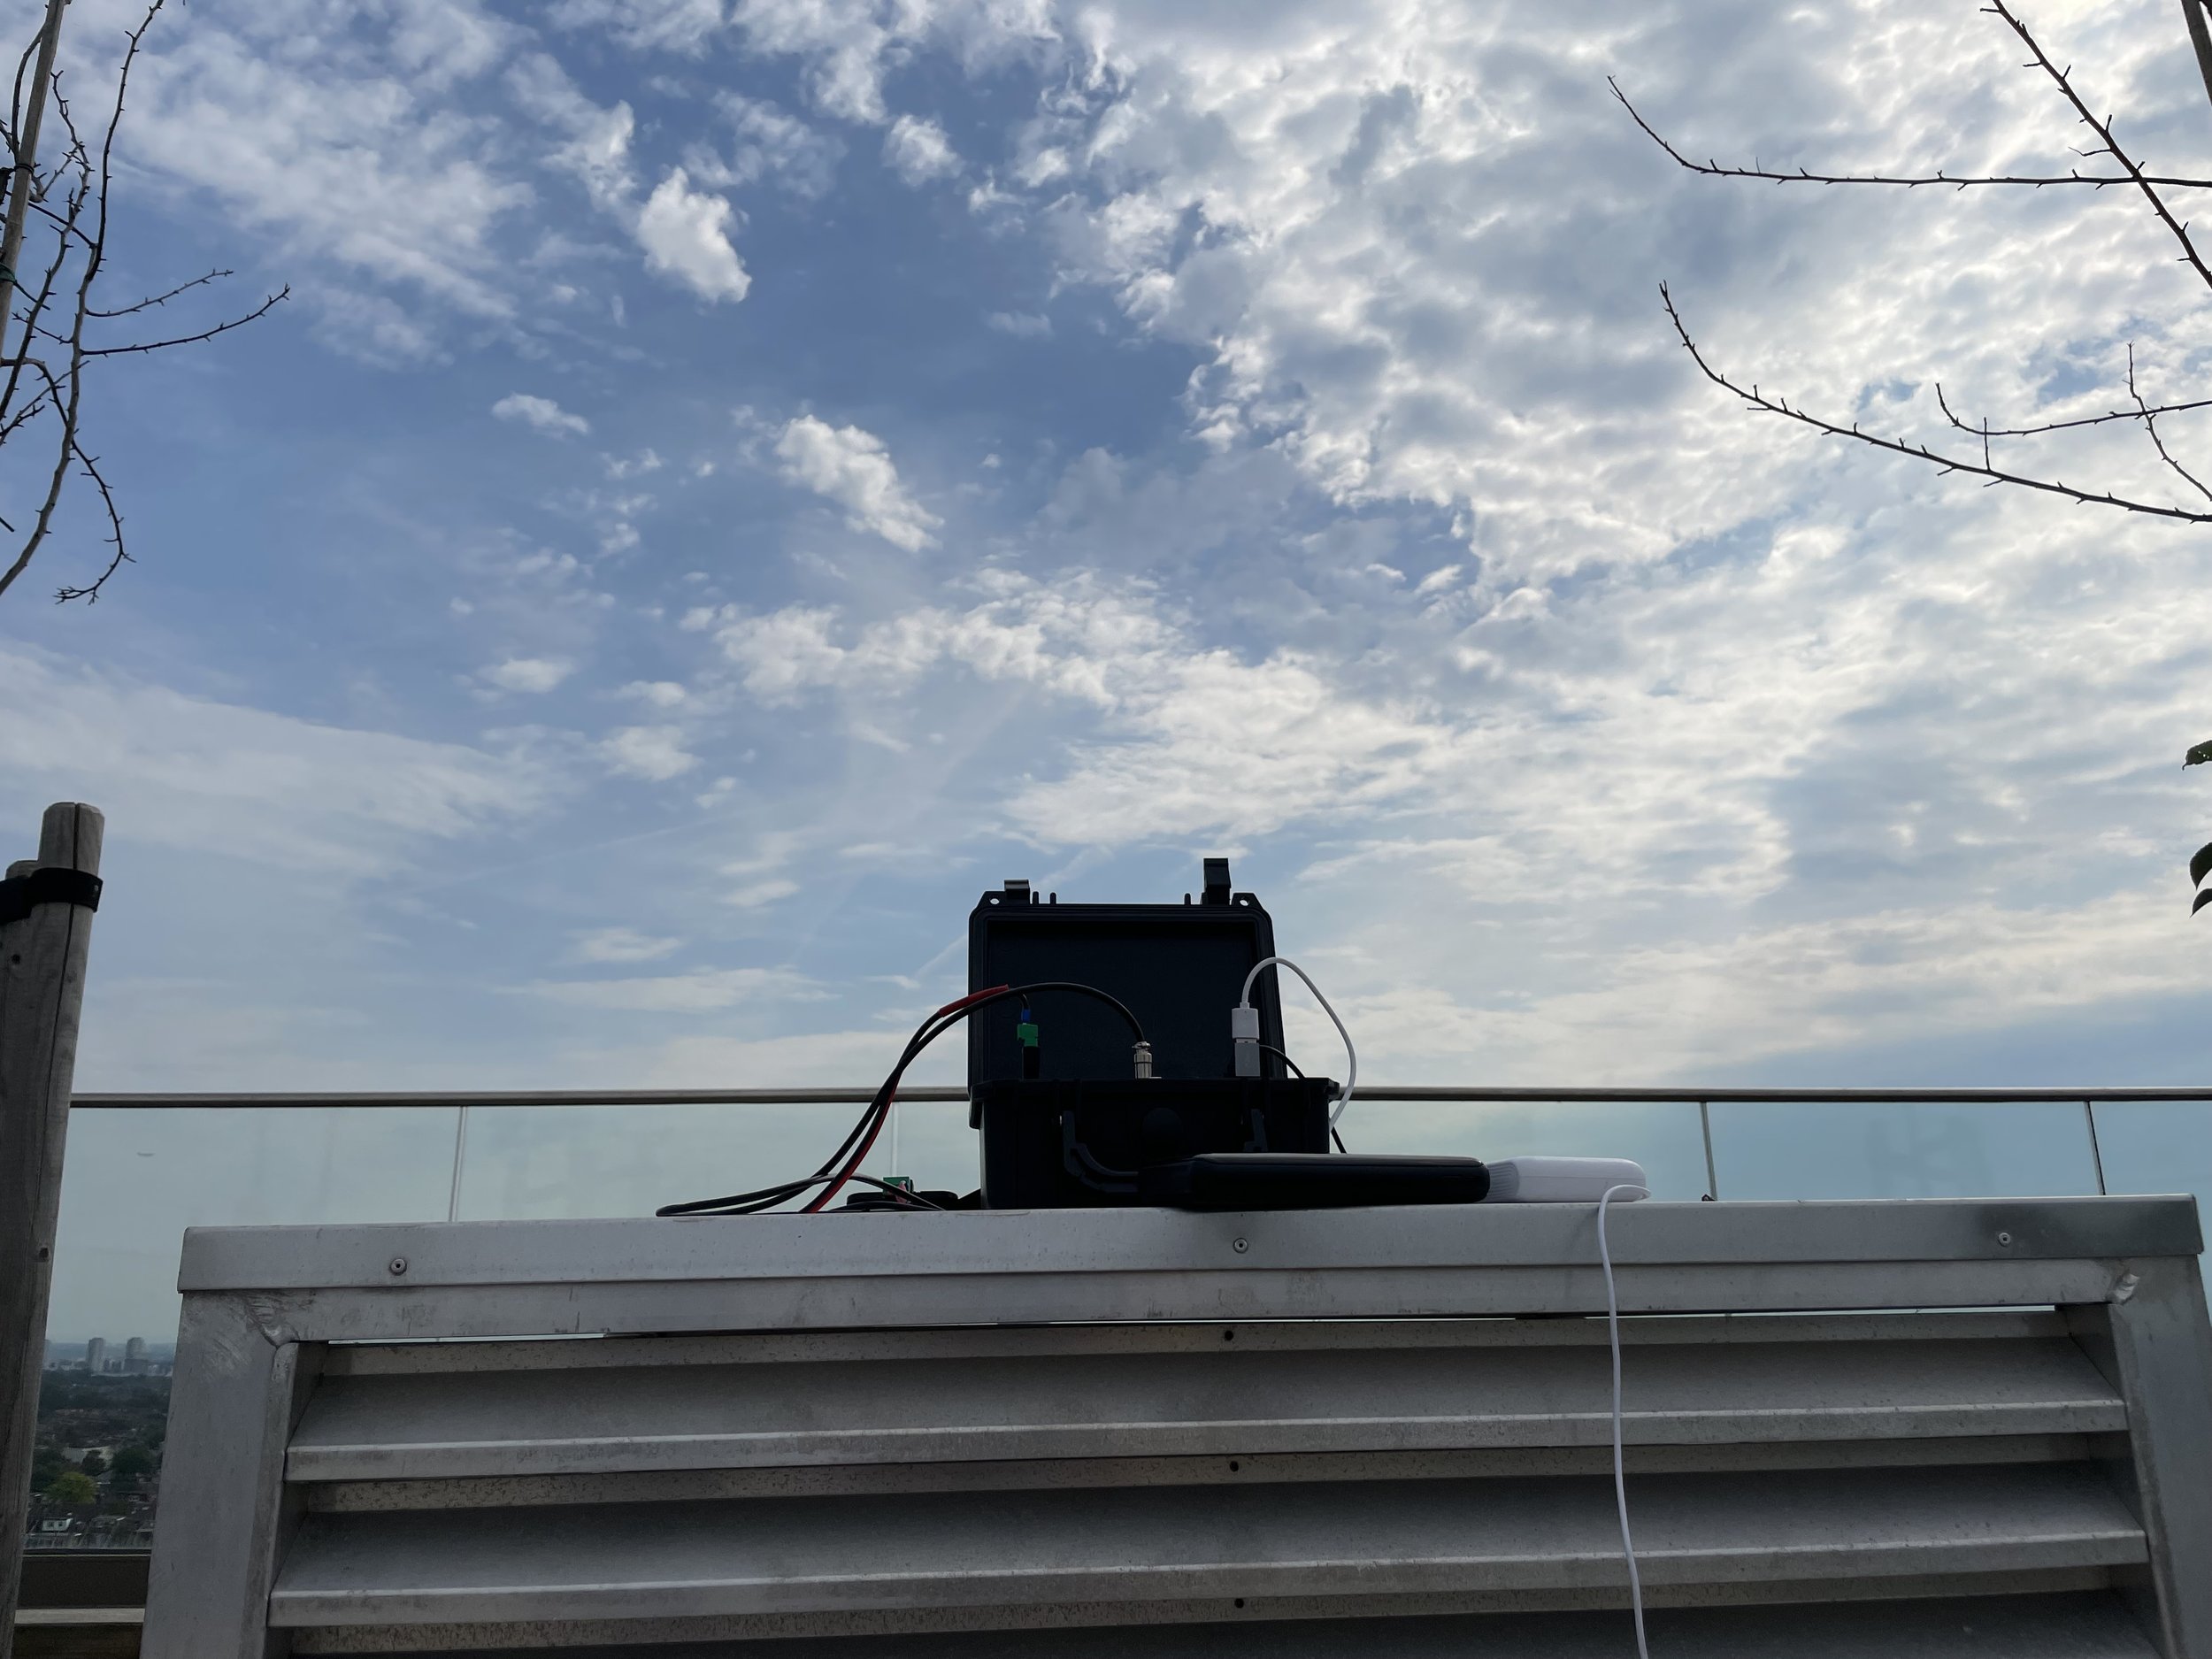
To test, I took the panel outside to the roof terrace of my building and connected it to my standard testing and logging pack, this consists of a load and an ESP32 that will log the current, voltage, time, and light intensity once per second and save the resulting data to an SD card.
Once set up, I let the panel sit in the sun logging the parameters above for 30 minutes, this was recorded onto the SD card which was then exported to my computer for analysis in a spreadsheet.
It's early September here and the weather while warm was quite hazy and cloudy, the temperature on the test day was 30C.
Testing Results
Data time! here is the recorded data from my testing over 30 minutes. I had some issues as this was the first time I used my light sensor, the direct sunlight maxed out the BH1750 light sensor giving a reading of 54612.5 at some points. I’ll be redoing the testing for this panel, however, the times when the sensor wasn’t maxed out are still useful.
Measurements
Max Power: 1.2 W
Average Power: 0.69 W
Max Solar Irradiance: 455.09 W/m^2
Average Irradiance: 342.92 W/m^2
*Note: the solar irradiance is derived from the ratio, Solar Irradiance of 1 Sun (1,000 W/m2) equals approximately 120,000 Lux as outlined in this paper.
Derived measurements
Avg. Efficiency = 14.10%
In the 30 minutes of charging in moderate sunlight on the day of testing, it managed to add 0.736Wh to the battery pack which isn’t bad if you were just maintaining or topping up a low-powered item’s battery.
The efficiency is pretty low compared to what you’d expect from a high-performance solar panel but that’s not what this is, I would say it’s entirely reasonable and about what you’d expect from a cheaper mass-produced panel.
Charts
Power + Irradiance Vs time
As you can see the irradiance is clipping as the sensor has gone out of range. The solution I’m going to take is to add an ND filter to halve the light received and effectively double the maximum light range. The longer-term plan is to use a pyranometer which is more suitable for measuring solar irradiance.
Power vs Efficiency
Scores
Build quality = 7
The panel appears to be quote tough and it’s simplicity is a benefit as there’s little to go wrong.
Claimed output = 3
It’s nowhere near the claimed 10W and as we worked out earlier, it’s likely a 3W panel, the light reading s and the recorded power output seem to validate this.
Packability = 9
This panel is very thin and will easily slip in any gaps in your pack, it’ll also attach to a window or any flat surface easily too.
Efficiency = 5
Not the most efficient panel given the low efficient scored but then again not bad either.
Value for money = 6
It’s very affordable and given it’s durability it is worth the few £/$ it costs.
Average Score = 6.0
Conclusion
Overall this panel falls far short of the claimed 10W output and given the power it does produce, even in late summer you’re not going to be able to charge a device in any meaningful way. However, it could be quite useful to leave on a tent or shelter to charge a lamp battery, it generated 0.339Wh in 30 minutes, if you left this on your shelter charging a lamp powered by a 10Wh 18650 battery you could fully charge it in almost 15 hours, considering the very packable size and weight, if you can afford the burden it could be worth having a couple of these for maintaining accessory lamps or other low power devices.
Another use for this panel would be low-power electronics projects, it’s durable to be out in all weather and as long as you can protect the USB port inside an enclosure it would definitely keep a low-power Arduino or ESP32 project alive.
Bottom line: Would I rush out to buy one, probably not, but if you have the right use case it’s definitely worth it.
If you found this review interesting and the panel looks like a good fit for your uses then I’d be eternally grateful if you used one of the links below.
There were definitely some teething issues with my first attempt testing solar panel but that’s to be expected with my first review, the good thing is I know where to make improvements and ensure future reviews are far better, I’ll likely come back and update this one with better when I’ve made those improvements.


